Snowflake Kisses

I know, I know, but c'mon it's NEVER too early for Christmas.  LOL  Seriously though, I just recently purchased this cartridge and I finally broke it out of the box.  Even though there aren't that many cut choices on this particular cart I really like it and can envision having a lot of fun.

For this card I used only the Snow Day cart. 

My background paper is from a Recollections mat stack (Warm Wishes) that I picked up on clearance after the Christmas season.  It has some really great prints in it - some of which will be perfect for my hot chocolate mug holders.

The snow covered ground and snowflake were coated with Martha Stewart glitter in Carrara Marble.  I love this particular glitter for snow effects because it's subtle with just the right amount of bling.

And there you have my first Christmas card of the year.  Now if I keep this up I'll have more than enough cards done on time this year.

Scat Hat

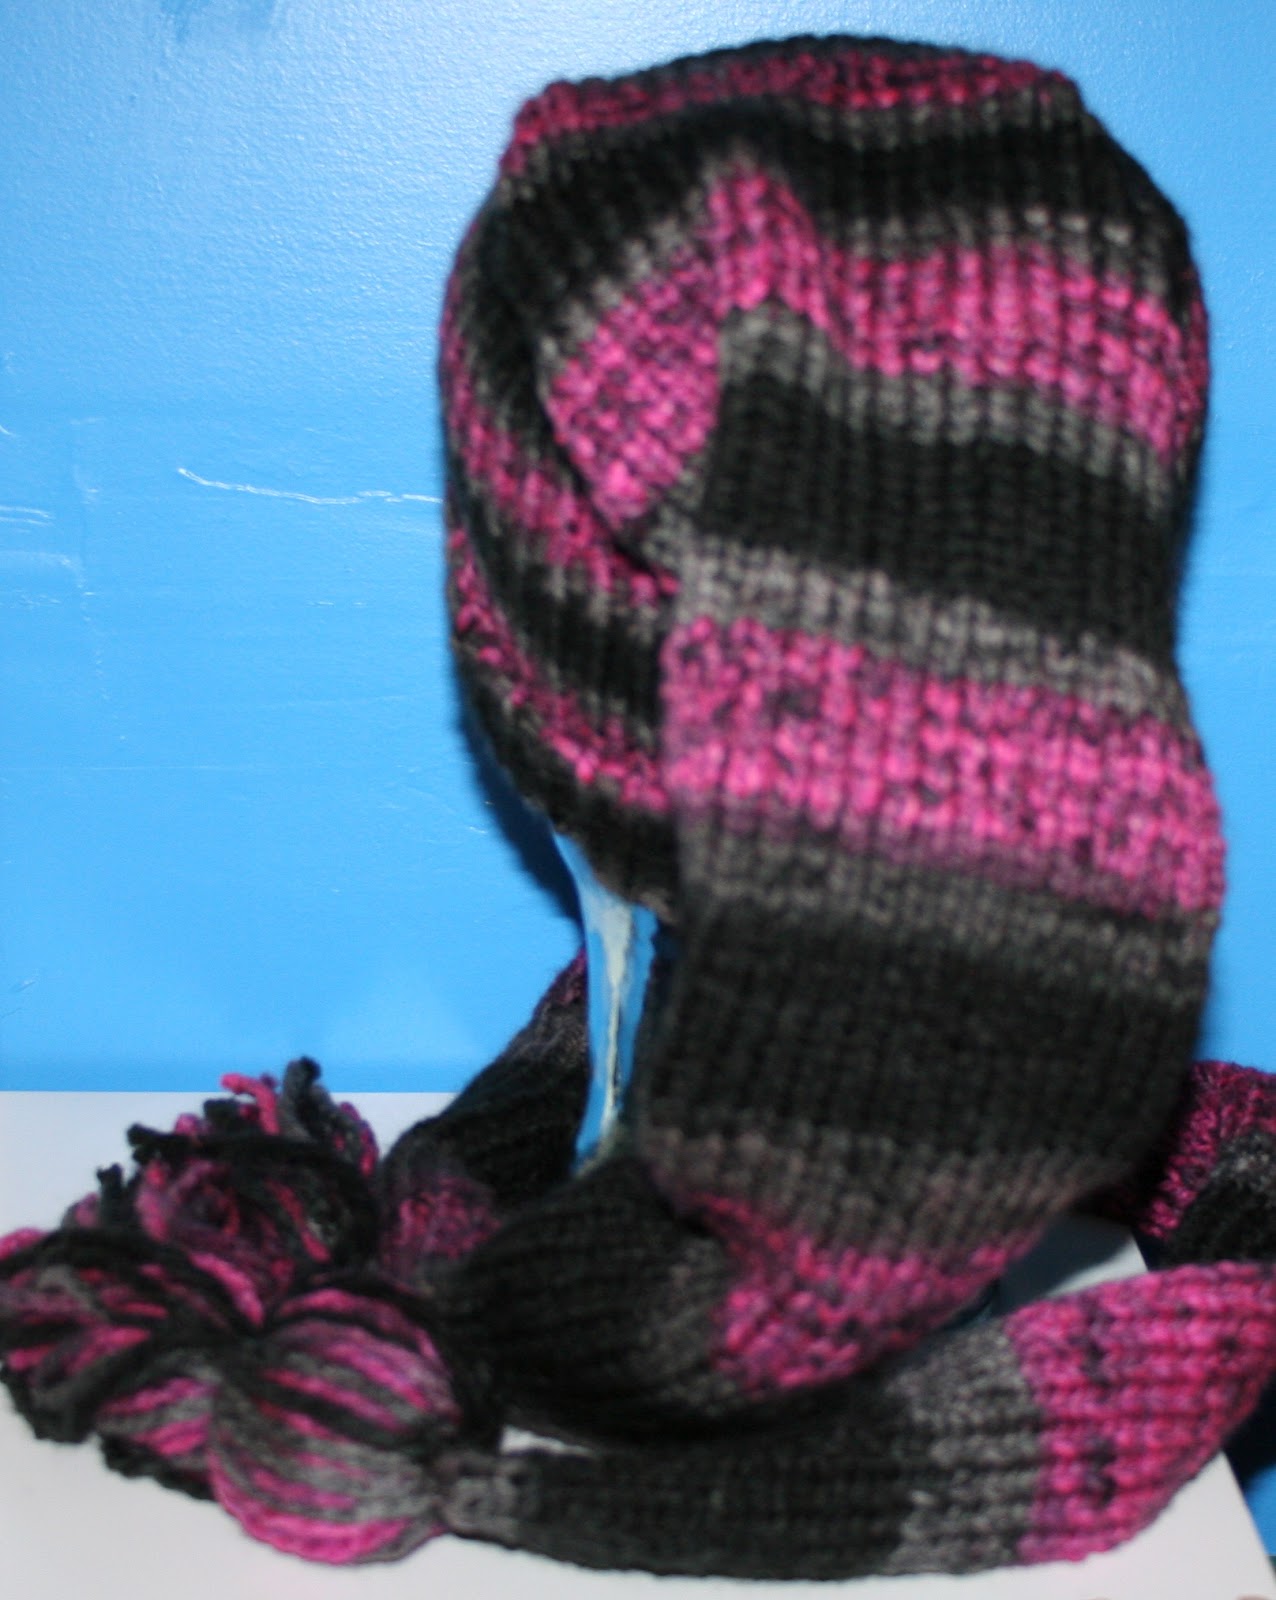
I'd never heard of a "scat" hat before last week, but thanks to Jeannie I was introduced to this lovely 'breed' of hat that combines a hat with a scarf all-in-one.  It took me about 5 or 6 nights of loom knitting for 2 to 3 hours a night to finish this project and it was certainly worth the wait.

The pattern called for a different loom and type of yarn than what I had on hand at the time I began.  She made her scat on the adult hat loom, which I didn't know existed before now.  So immediately sat down and ordered one from Joann's.  However, I didn't want to wait for it to come in so I found the loom that came with my Reader's Digest loom kit and used it instead.


My yarn is the Michael's 'brand" Loops and Thread, Charisma - which I LOVE.  I have used this yarn for a couple of hats and socks as well.  This particular color is Black Raspberry and it took me about 2 1/2 skeins for this pattern.

Updated May 2014:  Thanks to a fellow blogger I have learned that this pattern is available on Ravelry.com.  You can find it here.

Birthday Easel Card

So last week my boss was talking about her birthday and how she's getting old so I decided to have some fun and make her somewhat of an over the hill birthday card.  To make it even more fun I decided to make it an easel card since I haven't made in what seems like forever.

For this card I used:

  • Life's a Party for the Buzzard.
  • Paper Doll Dress Up for the fence.  After cutting out the fence and drawing over the fence lines I also crinkled it up a bit before adhering it to the paper.
  • Zooballoo for the tufts of grass.  After removing the cut from the mat I cut down into individual tufts.
My sentiment was made using MS Word and I cut that out with a pair of scissors and then pop dotted it to the card.

Sparrow Sympathy Card

One of my friends just lost her husband to cancer this week and while trying to decide what I wanted to do for a sympathy card I came across the saying, "His eye is on the sparrow" along with a picture of a sparrow in a hand.  Of course that got me going and thus this card was born.

I used A Child's Year for the hand and Home Decor for the bird.

I love using this hand for things but I've really got to figure out how to make it look more dimensional and not so 'flat'.

No Other Like My Mother

Happy Wednesday everyone.  It's time again for another  Cricut Cardz Challenge .  This week our directive was to create a Mother's Day card using any cartridge/cut we desired.  And since Mother's and flowers go hand-in-hand I decided to create a card with a flower as my focal point.

The flower on my card was cut from Mickey and Friends.  My first cut was of the flower on the stem - cut at 6 1/2".  I then cut the flower 'icon' in four varying sizes ranging from 1 1/2" to 3".

After removing the flowers from the mat I crumpled each one, inked them for color definition and then ran them through my Xyron before assembling them into one flower.  Once assembled I sprinkled flocking powder all over the flower ensuring that I worked the flocking powder into all the little knooks and crannies on the flower petals.

My butterfly was cut using Indie Art and then pop dotted onto the flower.

And now that you have seen my creation for this week's challenge be sure to hop on over to see all the other wonderful cards that our design team has created this week.  I promise you'll be glad you did.

Class of 2012 Announcements

It's that time of year again, and this year my #4 blessing is graduating from high school.  So I searched around for ideas for his announcements and after talking this is the design he liked best.  His school colors are black, red and white so it was perfect that I had had this graduation cap print paper in my stash already. 

For this clean and simple card I used two cartridges:  George and Happy Graduation.

The circles measure 3 1/2, 3 1/4, and 3 inches.  The diploma was cut at 1 inch and pop dotted to the card.

Told it was simple.......now to get the production line back moving.......

A Nativity in April? Why Not.

Now here's a craft I haven't share in a while simply because it had taken a back seat to my papercrafting and loom knitting.  It's so difficult to divide your time evenly when you love so many crafting styles - or at least it is for me.  So much so that there are days I dream of just staying home from work so I can craft. 

It hit me a couple weeks ago that while I've thought about picking back up my plastic canvas I had not done so.  Then I was over at my mom's house that weekend and she showed me a nativity set that she was crocheting in preparation for our upcoming shows this Fall.  Immediately I knew that I had to get to work and get a couple of nativities made myself and so I pulled out one of my new-to-me patterns and this is what I've completed thus far.

I still have my kings, manager and animals to finish but I'll get there..........